Posted onFebruary 3, 2026February 3, 2026inJavascript, Software Development, TypeScript Elevating Development with Gemini CLI Hooks: Guardrails, Automation, and Real-World Examples
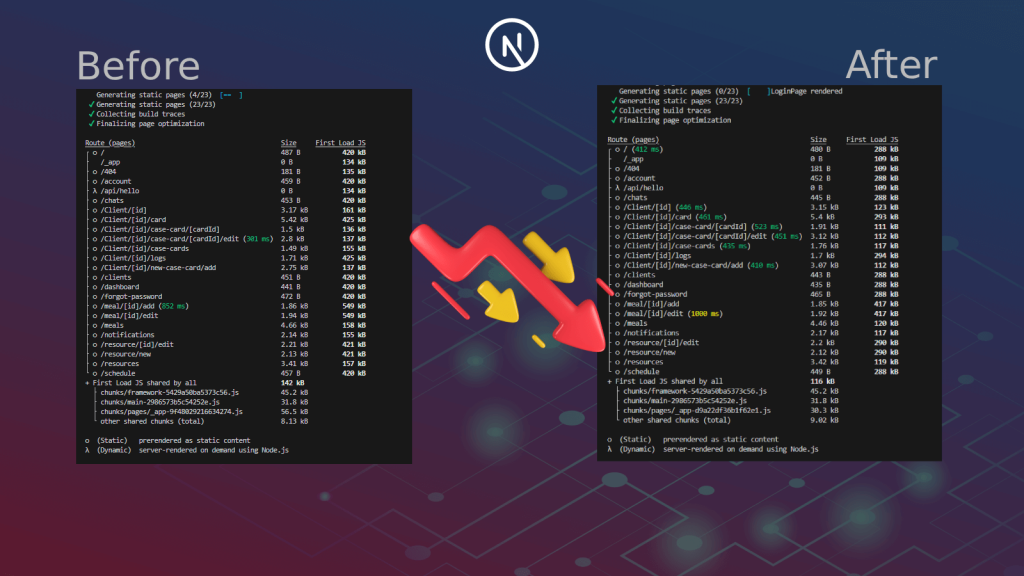
Posted onJanuary 15, 2026January 15, 2026inJavascript, Next.Js, TypeScript How I Reduced a Next.js App’s Bundle Size by 40% (Without Breaking a Thing)
Posted onSeptember 11, 2023September 11, 2023inAWS, Cloud Technologies, Programming Using Amazon S3 Bucket with Node.js: A Step-by-Step Guide
Posted onNovember 13, 2022November 13, 2022inProgramming, Spring Boot Spring Boot – HATEOAS for RESTful Services
Posted onSeptember 18, 2020September 19, 2020inASP.NET, Softwares C# join tables using IQueryable in LINQ
Posted onJune 19, 2020June 19, 2020inASP.NET, Programming Send Dynamic Responsive HTML Page (File) as Email Body in ASP.Net using C#
Posted onJune 20, 2019June 20, 2019inProgramming, Spring Boot Convert currentTimeMillis to a datetime in JAVA(Spring Boot)
Posted onFebruary 10, 2019February 10, 2019inProgramming, Spring Boot How to query data out of the box using Spring data JPA by both Sort and Pageable
Posted onJuly 9, 2018January 17, 2019inProgramming, Spring Boot Show data from two JPA entity tables on same page using Spring Boot and Thymeleaf