Posted onFebruary 3, 2026February 3, 2026inJavascript, Software Development, TypeScript Elevating Development with Gemini CLI Hooks: Guardrails, Automation, and Real-World Examples
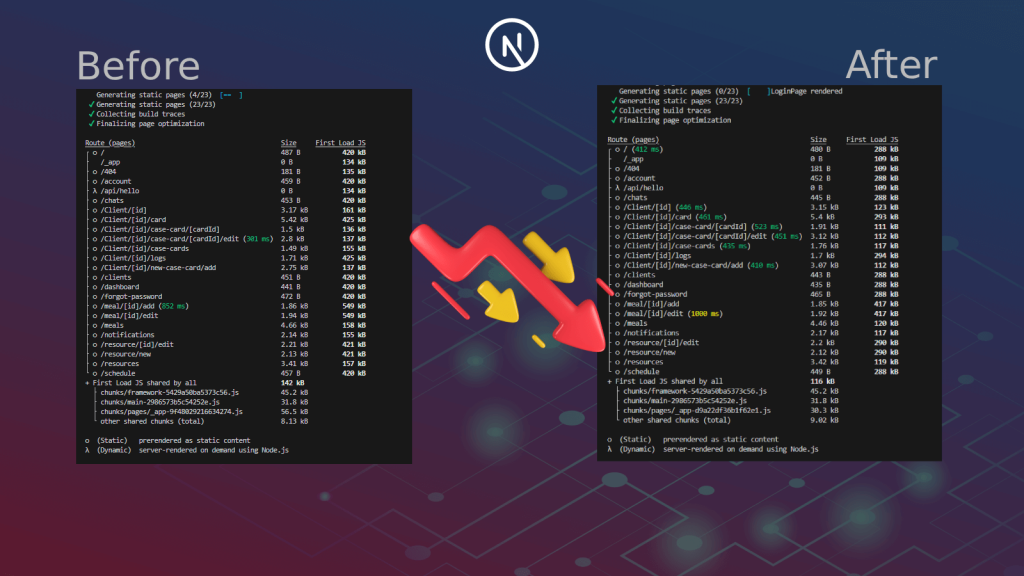
Posted onJanuary 15, 2026January 15, 2026inJavascript, Next.Js, TypeScript How I Reduced a Next.js App’s Bundle Size by 40% (Without Breaking a Thing)
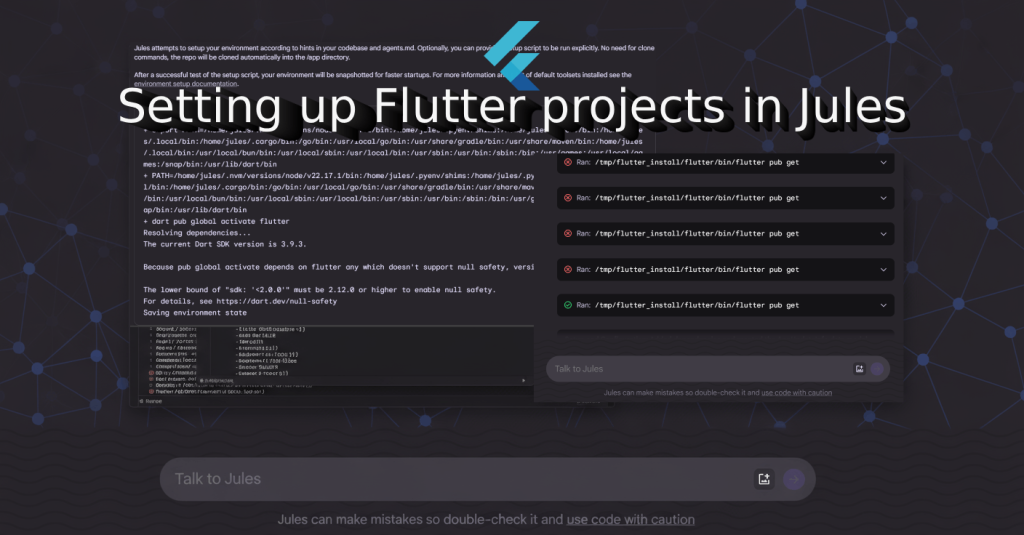
Posted onSeptember 14, 2025September 14, 2025inNew Technology, Tech News Flutter on Jules: Solving the “dart: command not found” issue
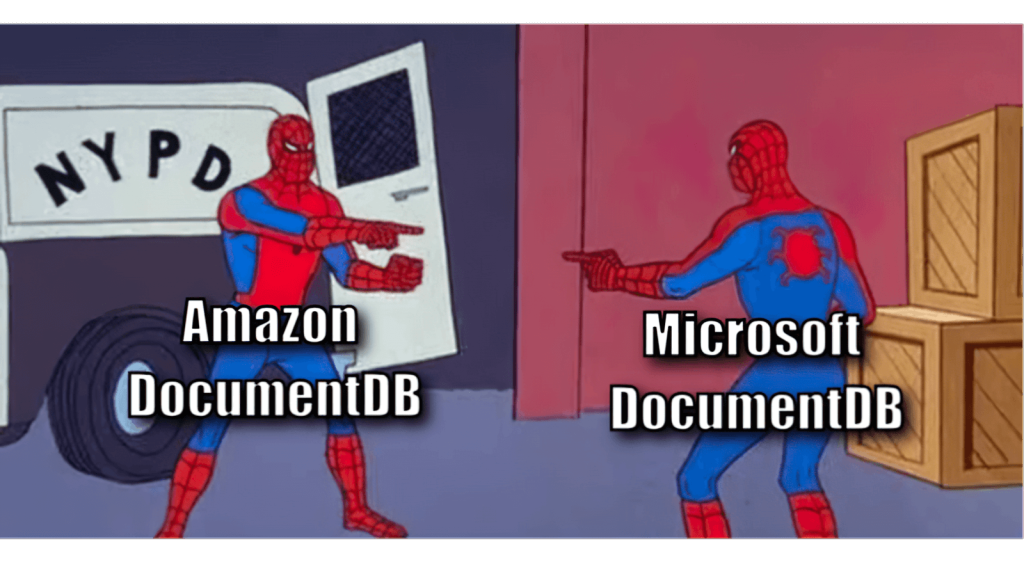
Posted onJanuary 27, 2025January 27, 2025inNew Technology, Tech News DocumentDB Naming Coincidence: Microsoft’s Open-Source Move
Posted onDecember 31, 2024December 31, 2024inUncategorized Reflecting on 2024: A Year of Growth, Change, and Resilience 🌟
Posted onJune 18, 2024June 18, 2024inSoftware Development Why the Why is Important in Software Development
Posted onSeptember 11, 2023September 11, 2023inAWS, Cloud Technologies, Programming Using Amazon S3 Bucket with Node.js: A Step-by-Step Guide
Posted onNovember 13, 2022November 13, 2022inProgramming, Spring Boot Spring Boot – HATEOAS for RESTful Services